Skip to content

Leaving from Belgium?To the Belgian plan →See the plan for Belgians moving to Australia →This plan is for people leaving the Netherlands.

Step-by-step plan · Visa required

The step-by-step plan for Australia

From "we want this" to being settled, in 41 steps. Read phase 1 in full here. Test your departure date along the way. Then you'll know whether you want the rest.

41 steps5 phases72 official sources11 only for your situationchecked on 14 October 2026

Phase 1 starts below ↓The whole plan: € 499 one-off, no subscription.

A plan that keeps track of what needs to happen now.

Every step sits in its place in the order, with the lead time, the counter and the official source. You and your partner tick off what is done. The plan counts back from your departure date and shows what has to start when and what is running now.

Below is phase 1, exactly as it appears in the plan.

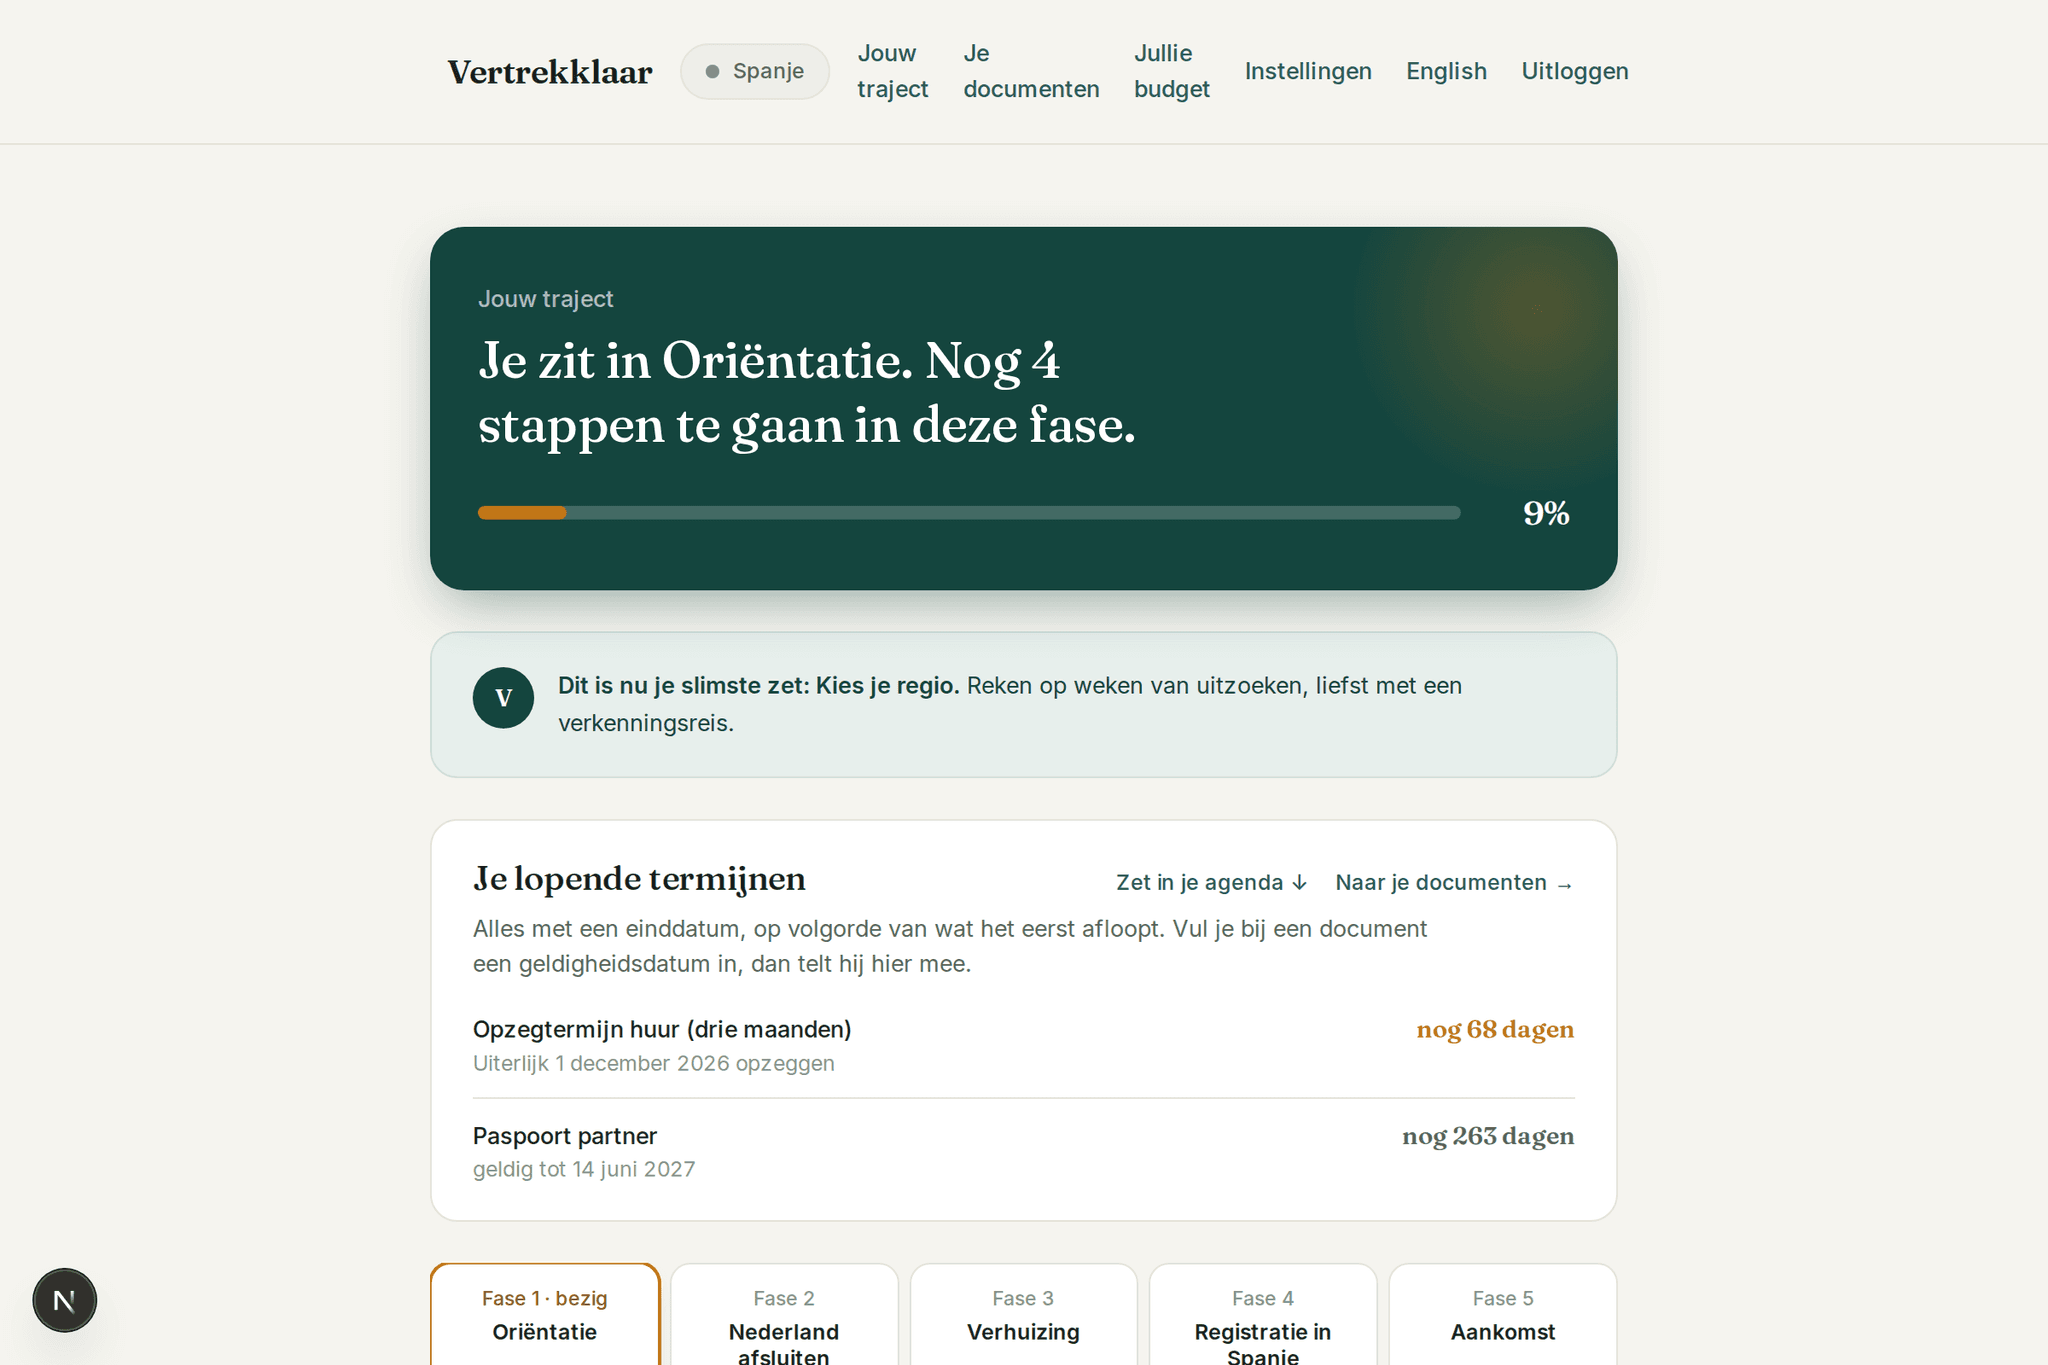
The dashboard of the step-by-step plan for Australia: the current phase, the open steps, the next step and the deadline bar.

The route

  1. Orientation

    6 steps

    Open · You are here

  2. Documents

    7 steps

    In your plan

  3. Language test

    5 steps

    In your plan

  4. Lodging

    6 steps

    In your plan

  5. Move & arrival

    17 steps

    In your plan

Phase 1 is the question "can we, and do we want to?". From phase 2 the arranging begins.

Phase 1 · Orientation

6 of 6 steps open

In this phase you find out whether Australia is feasible for you. Only after that do you start spending money, not before. Whoever pays first and researches afterwards pays twice.

By the end of phase 1 you know which visa route realistically fits your profile, whether your occupation is on the list, about how many points you score, roughly what the journey will cost, and whether you as a family stand behind the decision.

Doing this together?

Invite your partner with a link. You then each tick your own steps, on your own phone or laptop, and see at every step whether the other has already done it. No account needed.

We only store which step numbers you ticked, under a random code. No name, no email. Anyone with the link can see the ticks. After six months without use we delete it.

Step 1.1

Understand the three visa routes

Lead time:
reading step
Costs:
none

Australia has three main routes for skilled migrants. Which one fits you decides your whole journey. You'll recognise them by their number:

  • The 189 (Skilled Independent). Permanent and without obligations: you may live and work anywhere.
  • The 190 (State Nominated). Also permanent, but a state nominates you: that state puts you forward and expects you to live there for the first two years. You get 5 extra points for it.
  • The 491 (Regional). A provisional visa for five years, with 15 extra points. You live in a regional area for three years and can then apply for permanent residence.

Those points come from the points system, which you work out later in this phase. The rule of thumb: the more points you bring yourself, the more independent the route you can choose.

One thing the official sites don't make clear. The official minimum is 65 points. With that you may take part, but that's not yet an invitation. And only with an invitation may you apply for your visa. The threshold for an invitation is higher and differs per occupation: in the June 2026 round it ran from 65 points for sought-after trades to 100 for the most crowded occupations.

That difference between "may take part" and "gets invited" is where most people lose time and money.

Checked against the official source

The official sources for this step

Step 1.2

Check whether your occupation is on the list

Lead time:
1-2 hours of searching
Costs:
none

This step tells you whether there's a route to Australia for you. If your occupation isn't on the skilled occupation list, the official occupation list of Home Affairs, there's no route. So this is your very first check, before you do anything else.

How to find out:

  • Look up your occupation via the ANZSCO classification, the way Australia classifies occupations for this purpose.
  • Look at the task description, not at your job title. A Dutch job name doesn't always translate one-to-one.
  • Check which list your occupation is on. For the 189 it has to be on the MLTSSL. For the 190 and 491 broader lists apply.

If your occupation is only on the broader lists, you know right away what to aim for: state nomination (the 190) or regional (the 491).

Is your occupation on the list?

Checked against the official source

The official sources for this step

Step 1.3

Calculate your indicative points

Lead time:
about an hour
Costs:
none

This step shows you how good your chances are, and which of the three routes fits. The points system counts, among other things, your age, your level of English, your work experience and your education. You only reach the maximum for age if you're under 33.

Be strict with yourself. Points you hope to get don't count. Then you'll quickly see where you stand:

  • If you come out well above 85, the independent 189 route is realistic.
  • If you're between 65 and 85, look seriously at the 190 (5 extra points) or the 491 (15 extra points).
  • Below 65 the journey isn't feasible in its current form. Better that you know that now than after thousands of euros in assessments (the official reviews of your qualifications and work experience, phase 2).

Two hard limits to know. The first: you have to be under 45 at the moment you're invited. The second: your partner situation counts.

  • A partner with their own skills assessment and Competent English yields 10 points.
  • A partner with Competent English alone yields 5 points.
  • As a single applicant you get 10.

Competent English is the lowest English level, and also the entry requirement (phase 3 explains the levels).

If your partner is also on the occupation list, work out both scenarios. Who becomes the main applicant can make the difference.

This is an indication, not a guarantee. Your points are only officially determined at your application.

Calculate your indicative points

Age at the time of invitation
English

No test yet? Choose what you expect to achieve.

Work experience in your occupation, outside Australia, in the last ten years
Highest qualification
Your situation

Checked against the official source

The official sources for this step

Step 1.4

Get a picture of what it's going to cost

Lead time:
1-2 hours with the calculator
Costs:
none

In this step you see what the journey is going to cost you, before you go further. The calculator for Australia works with your own moving choices, not with an average family. It shows three cost blocks:

  • The application phase. Assessments, tests, translations and visa fees (the cost of the visa application itself). For a family that's quickly a few thousand euros.
  • The move. Depending on your choices: from almost nothing to well over ten thousand euros.
  • The landing period. Deposit, temporary rent and bridging until you have an income. This block is often underestimated.

A rule of thumb that makes the journey less stressful: only start spending once you can carry the whole application block without borrowing.

Step 1.5

The family conversation

Lead time:
three evenings, and weeks to let it sink in
Costs:
none

This is the step without forms, and yet this is where most journeys fail. Emigrating isn't something you do alone, even if the papers are in one name. With this step you know whether the whole family stands behind the choice.

Going alone? Then have this conversation with the people you leave behind. The questions below work for them too.

Take three evenings. One conversation is too short for a decision like this. Agree on three evenings, a week apart:

  • Evening 1, why. What do we hope to find in Australia? What are we leaving behind here? Would that really be different there?
  • Evening 2, what we give up. Who and what will we miss? What are we dreading most? What do we do if it disappoints?
  • Evening 3, the conditions. What has to be in place for each of us to say yes? When do we check together whether it's going well, for example after six and after twelve months? And what would be a reason for us to go back?

Write the conditions down. On the kitchen-table card it all fits on one A4.

Divide the work. Agree who takes on which part of this plan: the papers for the visa, the house and the cancellations, the school, the move. That way not one of you carries everything. Invite your partner into your plan; then you both see what's done.

Work for the partner. A practical point that's often forgotten: the partner who isn't the main applicant needs a working life there too. Check now whether your partner's occupation has prospects there.

Is one of you going without an income of your own? Whoever lives in Australia and doesn't work in the Netherlands usually no longer builds up AOW, the Dutch state pension. For every year you're not insured, you later get 2 percent less AOW. You can insure yourself voluntarily with the SVB. You have one year for that, counted from the moment you're no longer insured. Also discuss whether that partner keeps an account and money of their own, and how you decide together on large expenses.

Married, registered or living together? That can make a difference for your partner's residence permit, for co-insurance in healthcare and for inheritance. Australia also lets a partner come along whom you live with without being married: a de facto relationship. Then you do have to prove that you've been together for at least twelve months before you apply, for example with joint accounts and the same address. So start on that now. Check at the visa further on in your plan what applies to you.

Are children coming? How you tell them depends on their age:

  • Up to about four. Tell them shortly before the move and keep fixed routines, such as the bedtime ritual and the cuddly toy in the hand luggage.
  • Primary school. Tell them well in advance and let them look along: photos of the school, the neighbourhood and the house. Let them choose something, such as their room.
  • Teenagers. Involve them in the decision itself. For them, saying goodbye to friends weighs the most. Agree how they keep in touch and when they'll see their friends again.

How school in Australia works, and what it costs per visa, is in the article about school with this step.

Who learns the language, and when? You probably speak English already. But a job interview, a rental contract or a parents' evening is something else than a holiday. Often the partner without work needs the language most, and that's exactly the one without colleagues to practise with. Plan it together, preferably before you leave.

Take your time for this. All the following steps are easier with a family that really stands behind the choice.
Step 1.6

Choose your target date

Lead time:
decision moment
Costs:
none

Close the orientation phase with a target date for departure. Not as a deadline — as a compass. The tool counts back from now: which step has to start when to keep that date feasible, and where there's slack. A realistic picture: from start to visa, this journey takes most people 12 to 24 months, depending on assessment lead times and invitation rounds.

You fill it in below in this card, and filling it in is completing the step. You can always adjust your target date — the planning adjusts with it.

Is your situation slightly different?

A partner who stays in the Netherlands, work that carries on, a house you keep, children who stay at school here: I'm happy to talk those through, even before you have the plan. Email me what's going on for you. I read it myself and reply within two working days.

If you then take the plan, I'll work what we discussed into your personal plan.

Email me about your situation → info@vertrekklaar.nl

You know what you're getting into. Now the arranging begins.

You've read phase 1 of the step-by-step plan for Australia. The full plan has another 35 steps ready for you: Documents, Language test, Lodging and Move & arrival.

The plan counts everything back from your departure date and watches your deadlines and documents. You only see the steps that apply to you.

The step-by-step plan for Australia

€ 499

one-off · no subscription · instant access

Also included: deadlines watched · documents with expiry dates · only your steps · your partner ticks along · all cancellation letters · questions to me.

✎ I read along

Stuck somewhere? Ask your question at the step. I read it myself and answer within two working days. Or talk to me for fifteen minutes. Usually within a day of that call your situation is in the plan.

Not ready yet? Send yourself your date and phase 1 →

Phase 2 · Documents0 of 7 steps open

Documents have a lead time: it takes a while before you have them. And they have a validity period: after a while they expire. So the art isn't to apply for everything as early as possible, but for everything at the right moment.

  1. 2.1Determine your assessing authority and start the skills assessment8-16 weeks
  2. 2.2Collect your basic documents1-4 weeks
  3. 2.3Arrange translations (only what's needed)1-3 weeks per batch
  4. 2.4Police certificates: map out which ones you needtaking stock takes an evening
  5. 2.5Qualification assessment, if your authority asks for ita few weeks to months
  6. 2.6Medical examination: not yetappointment plus result, a few weeks
  7. 2.7Pet: start the import process nowonly if this applies to you
Phase 3 · Language test0 of 5 steps open

The language test is the biggest points dial you control yourself. Between the minimum and a top score are 20 points. That's often the difference between years of waiting and an invitation.

  1. 3.1Understand what the test does for your pointsreading step
  2. 3.2Choose your test: IELTS or PTEdecision moment
  3. 3.3Book your test at the right momentbooking can be done right away, the wait until the test date grows
  4. 3.4Practise specifically4-8 weeks, a few hours a week
  5. 3.5Result in: cash in or improvePTE usually within 2 days, IELTS a few days to a good two weeks
Phase 4 · Lodging0 of 6 steps open

From the invitation a clock ticks: you have 60 days to lodge your application. Everything from phases 2 and 3 is prepared so that those 60 days become a formality, not a panic.

  1. 4.1Lodge your Expression of Interest via SkillSelectlodging 1-2 hours; waiting for an invitation is unpredictable
  2. 4.2Apply for state nomination (route 190 or 491 only)varies strongly per state and round
  3. 4.3Invitation in: the 60-day clock60 days, hard deadline
  4. 4.4Police certificates and medical examination: do them nowDutch certificate days to weeks, foreign ones 4-12 weeks, examination a few weeks
  5. 4.5Lodge the application via ImmiAccounthalf a day with good preparation
  6. 4.6The waiting periodindication 2-8 months for the 189; the 190 and the 491 up to 18 months
Phase 5 · Move & arrival0 of 17 steps open

The visa is done, but there's still one hard deadline in it: your first-arrival date, the date by which you must have entered Australia for the first time. After that the journey shifts from paperwork to practical matters.

  1. 5.1Know your first-arrival datedeadline from your visa decision
  2. 5.2Request moving quotes and plan the shipmentonly if this applies to you
  3. 5.3Book your pet's transportonly if this applies to you
  4. 5.4Arrange the import of your caronly if this applies to you
  5. 5.5Close the Netherlands neatlyderegistering is possible from 5 days before departure; the whole takes 4-8 weeks
  6. 5.6The first week in order1-2 weeks; a TFN can take up to 28 days
  7. 5.7Housing, school and transportonly if this applies to you
  8. 5.17Help your child settle in: the first monthsonly if this applies to you
  9. 5.8Landedit's done
  10. 5.9Partner comes along without a job of their ownonly if this applies to you
  11. 5.10Living partly in the Netherlands: the eight-month ruleonly if this applies to you
  12. 5.11The house in the Netherlands: sell, rent out or keeponly if this applies to you
  13. 5.12Children staying in the Netherlands: DUO, healthcare and the houseonly if this applies to you
  14. 5.13Cancel what stops: job, rent, energy, subscriptions and schoolstart three months before departure; most notice periods are one month
  15. 5.16Prepare your child for the moveonly if this applies to you
  16. 5.14Stay reachable: DigiD, your phone number, your bank and your postarrange it before you leave; afterwards it takes weeks
  17. 5.15Student debt, remote work or your own business: what moves with youreport it before you leave; the consequences run for years

11 of these 35 steps only appear when your answers call for them: a pet, a car, a partner without a job, children staying in the Netherlands.

Every step on one list, free

Not ready to start yet? Then you get the departure checklist for Australia: every step in order, to print and tick off. With it, five mails in a week and a half about the pitfalls and the real costs. If the rules for Australia change, you'll hear about it. After that we ask once where your plans stand, send one offer, and now and then one thing that fits your moment. No newsletter, and you can switch it off at any time.

Then we count back to when you need to start at the latest, and you get a nudge at that moment. And one more, a month before you leave.

We use your address, and your departure date if you fill it in, only for the checklist, the guide and the mails after it. You can unsubscribe under every mail.

Three questions

Can't I find all this for free?

Yes. Everything in the plan comes from official sources, and they're listed at every step. You can check that yourself in phase 1 above. What you buy is the work around it: which of the 35 following steps apply to you, in which order, with which deadline, and a nudge when something needs doing.

Does this apply to my situation too?

The plan first asks who is coming along, what is coming along and how you're leaving the Netherlands. It then leaves out what doesn't apply to you, and adds what only fits your situation. Is your situation slightly different from what's written? Ask your question at the step. You'll get an answer within two working days.

What if the rules change after I buy?

Then your plan changes with them. Twice a month we check every source. Whatever changes is in your plan the same week, with the date. Your access lasts for your whole departure.

Ready to begin?

The step-by-step plan for Australia: 41 steps, with your documents and your costs in one place. For each step you see the latest date to start. You pay once and it's yours.